
Firebase Admin Panel in 4 Simple Steps!
Firebase is a cloud-hosted NoSQL database by Google to “build, improve, and grow” your app. It provides a lot of the services that developers would normally have to build themselves but don’t want to because they’d rather focus on the app experience, like Analytics, Authentication, Databases, Configuration, File Storage, Push Messaging, and so on. The services are cloud-based and scale with little to no work on the developer’s behalf.
For the visual learners out there, we have a short YouTube video explaining the whole process in detail:
Why a Firebase Admin Panel?
Firebase lacks an efficient GUI to easily perform CRUD operations, view statistics, and other charts & graphs. The Firebase console is extremely limited in the functionality it provides you from the User Interface standpoint. For example, even for a simple task like getting a list of all your Firebase Users, you need to write a lot of code and run it locally on your machine. Other tasks like searching for users, or querying by certain fields also require code. This is of course doable but becomes an inefficient method, especially if you want to frequently access and perform actions on your database.
All this can easily be fixed by integrating Firebase with DronaHQ and building a quick frontend application to an interactive Firebase admin client in just under 15 minutes!
How to build a Firebase Admin Panel?
Step 1 – Connect your Firebase account to DronaHQ
You need to head to GCP and create a credential and OAuth Consent Screen for DronaHQ, Then use the information there to set up a connector using the Add Connector Button in DronaHQ Admin Console. You can refer to this video if you’re facing troubles in this step.
Step 2 – Bind APIs to DronaHQ
The next step is to bind the APIs you need to access the respective information from the database. For this, you need to use the associated URLs for your real-time database from the firebase console, and add it using the Add API option in the DronaHQ Admin Console.
Step 3 – Build the UI
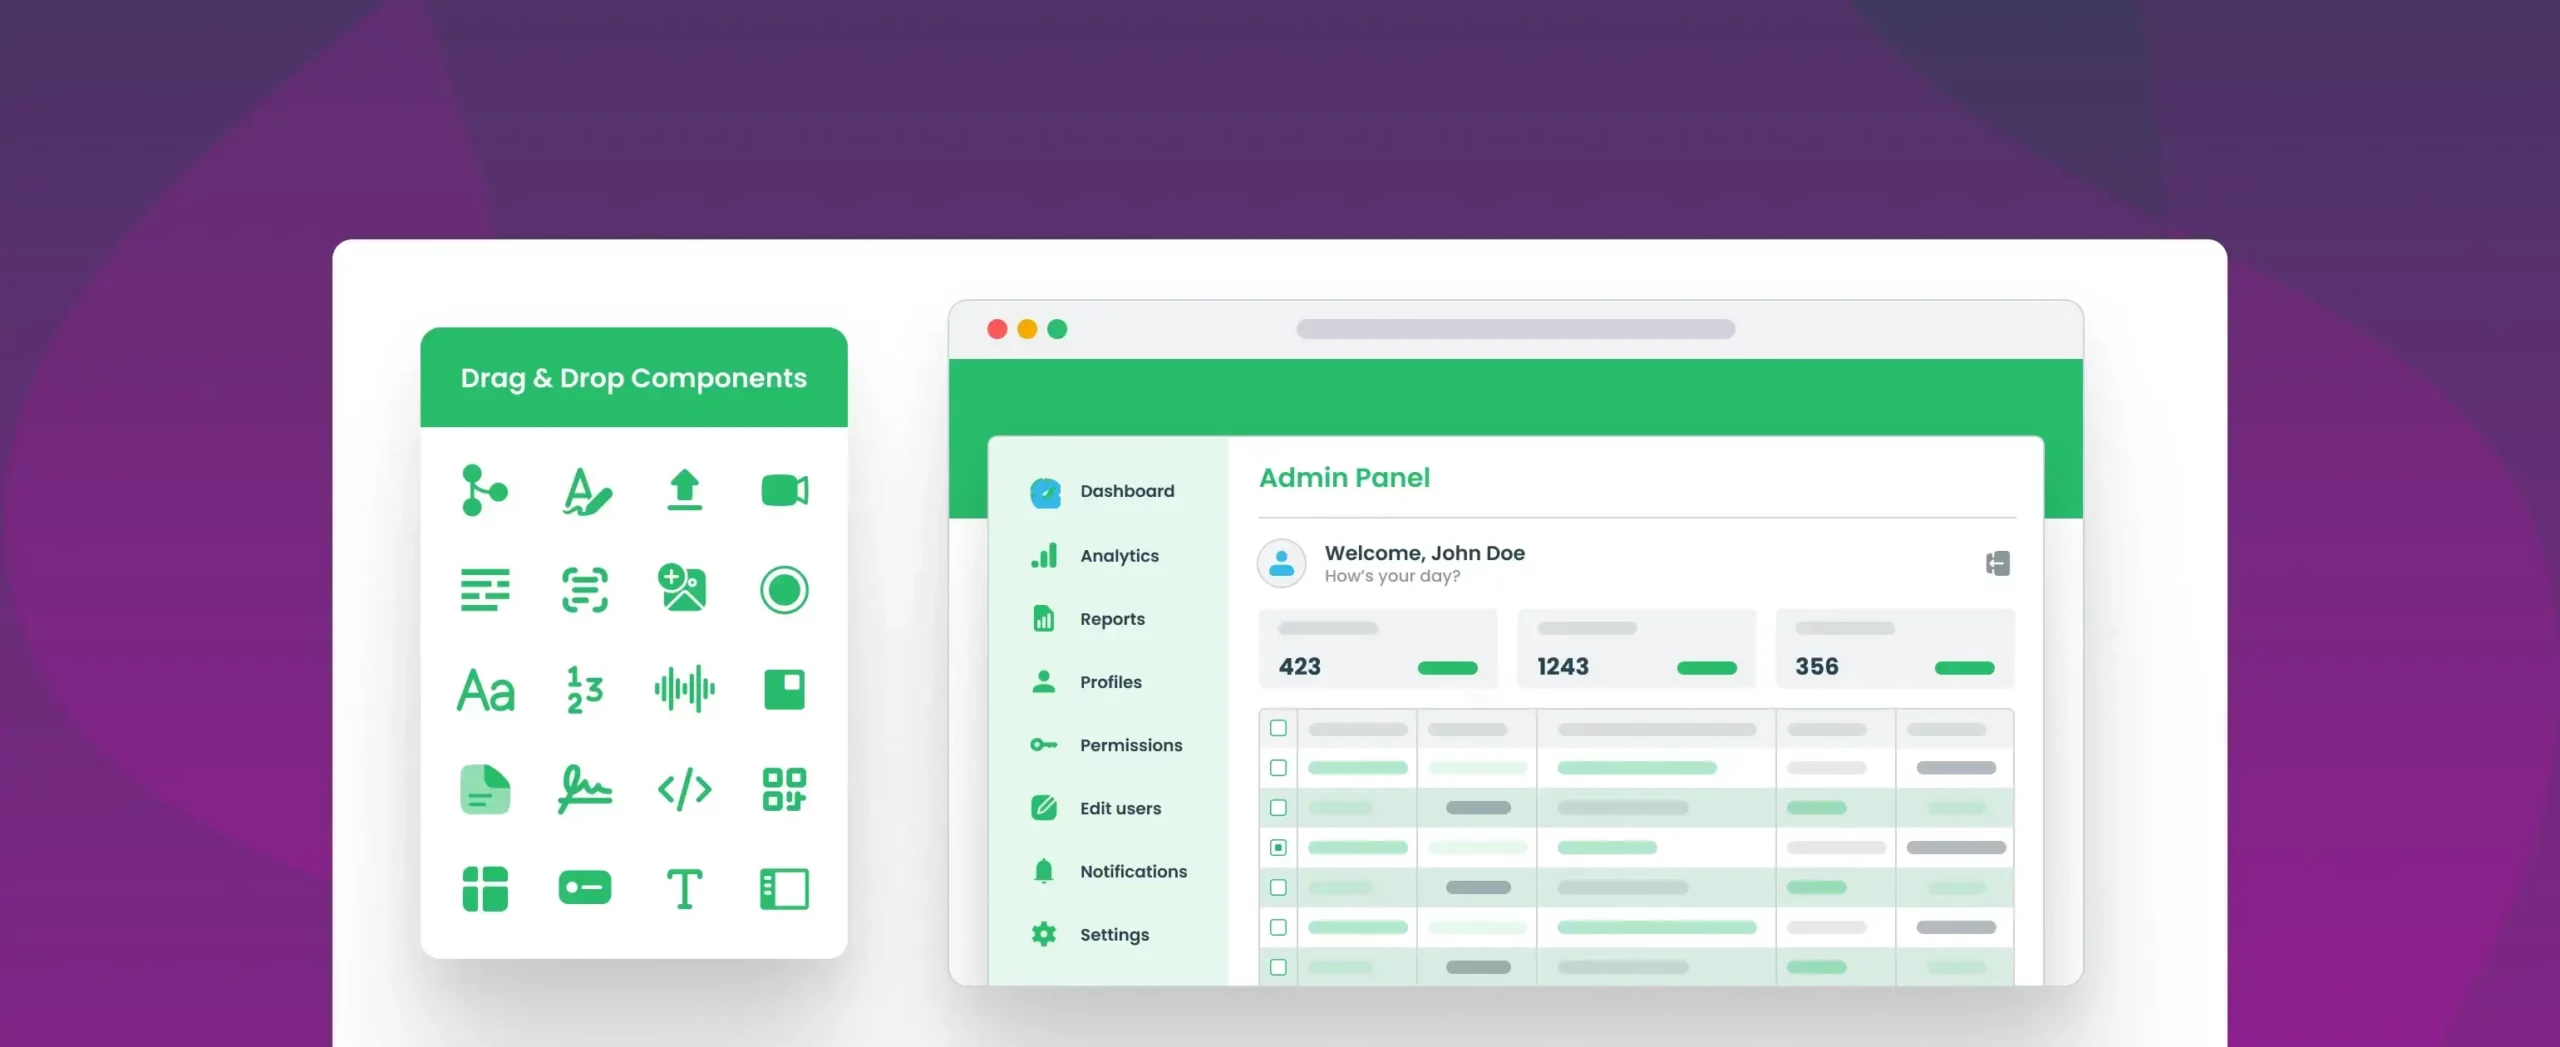
Obviously, you’ll want a UI to display and edit all your firebase data. Luckily this is the easiest step as all you have to do is drag and drop controls you want to the screen. For displaying a list of data, we recommend our table-grid control as it’s quite flexible and is ideal for this scenario!
Step 4 – Connect Away!
All that’s left to do now is connect the APIs added in Step 2 to Controls added in Step 3. To do this, you can click on any control. Click on bind data on the top right, click on “connector”, and select the connector you made on Step 1. Once you do this for all controls, your admin panel is now ready! You can preview it to ensure it works and publish it when ready to share it with your organization.
Wrapping Up…
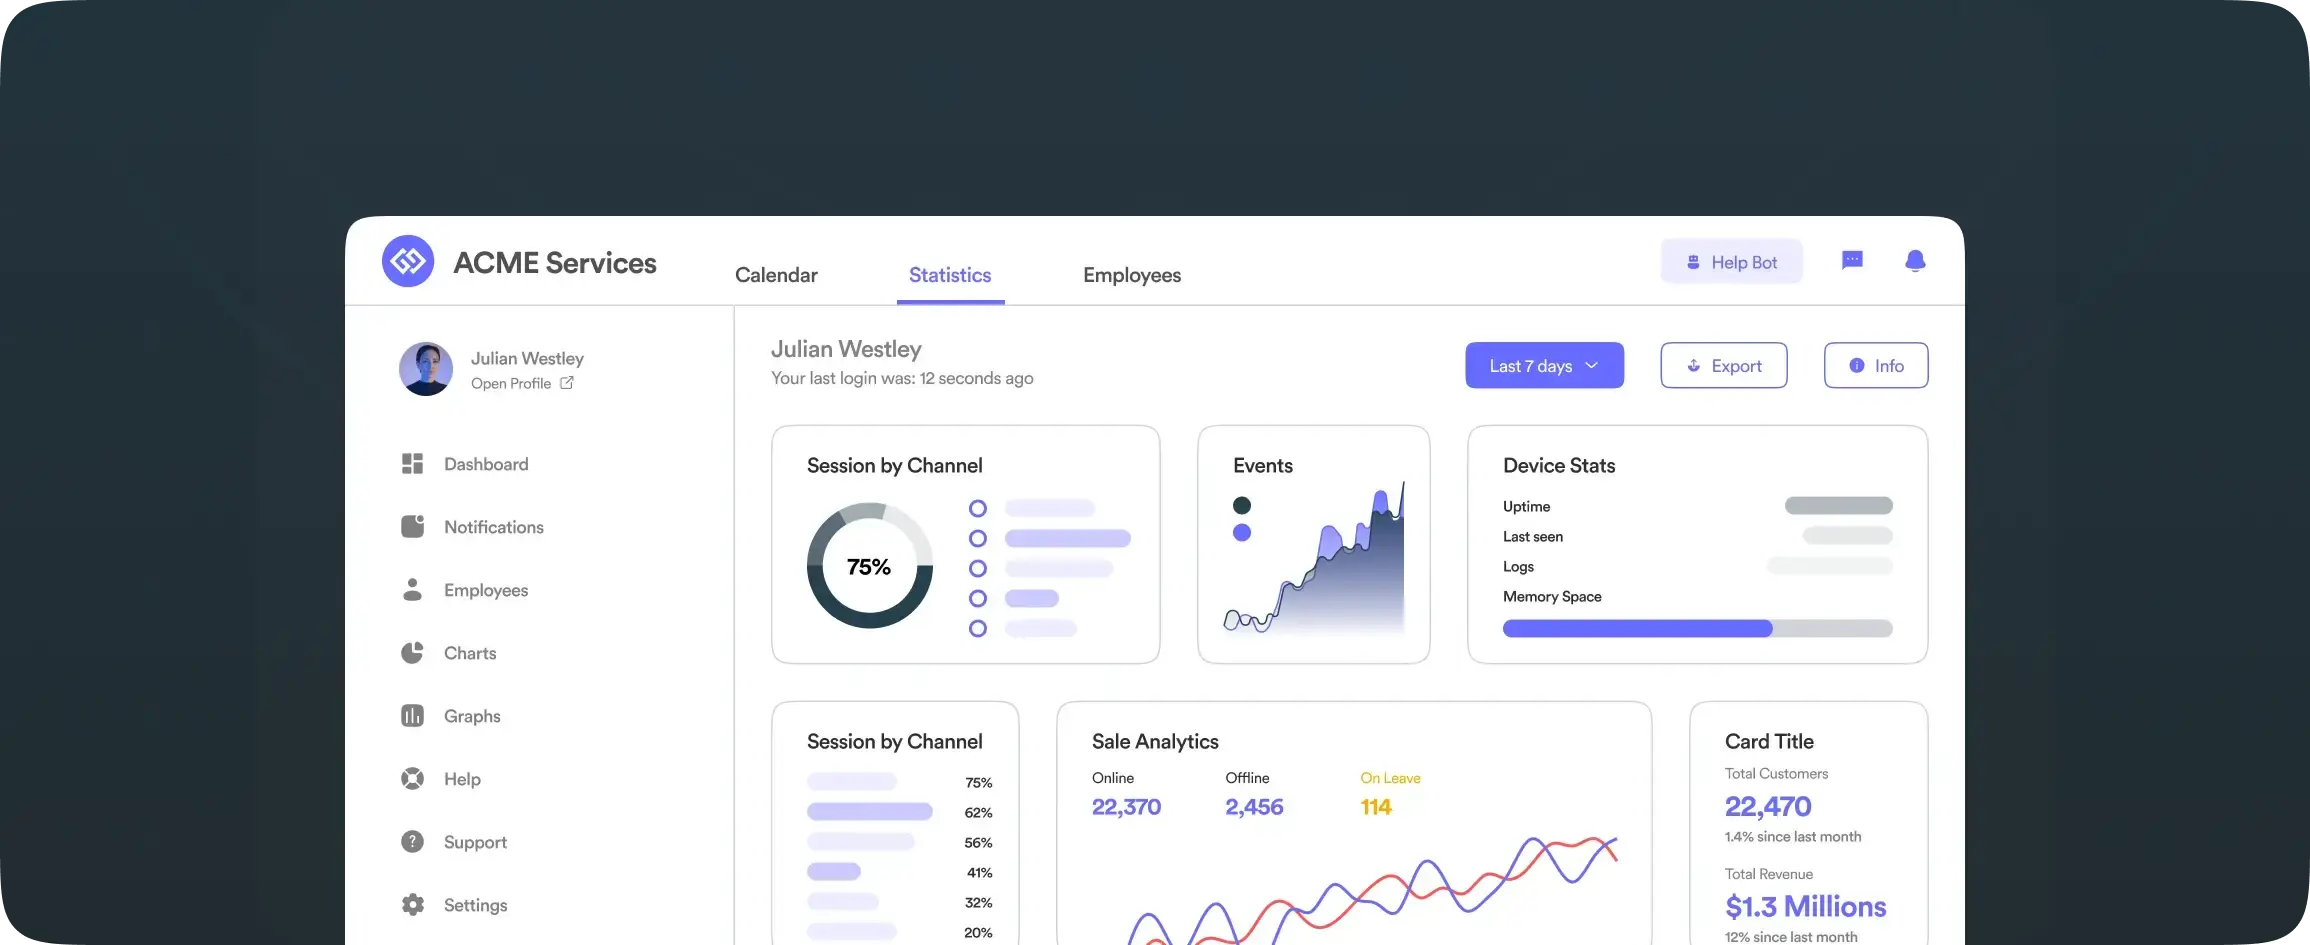
In just 4 steps, we were able to build a powerful dashboard capable of CRUD operations, viewing custom graphs, and more! Build your own Firebase dashboard. Easily perform custom CRUD operations on your data. Easily read, edit, delete, create Firebase users. What’s next? We can just as easily add more integrations to this dashboard with other popular services like Slack, Airtable, SendGrid & more. We can also add automations to automate some of our workflows, like generating a weekly Firebase report.
Connect DronaHQ with your Firebase and start customizing the interface visually.


