
Providing OTP verification using Twilio Integration on DronaHQ
DronaHQ Studio enables you to integrate with Twilio using ready connectors to send WhatsApp Text and Media messages to your customers and prospects. Twilio integration also enables you to provide user verification using the one-time passcode/verification code over SMS or through Email. For Email verification that needs substitution, you can use the power of the Twilio Integration with SendGrid effectively. The Twilio Connector in Studio enables you to easily provide a secure authentication system for your users to protect their identity and access to the site.
Let us understand how we can use Twilio’s verification service. You start with creating a Verify Service that Twilio offers to the authorized users. The service ID for this service would be necessary when you use Studio’s Twilio Connector to build the entire verification process. You would need to set the verification process so that the code can be sent via one of the Channels; SMS or Email.
Create Verify service in Twilio
- Log on to Twilio using your Twilio Account.
- Under Products, you can see the Verify Service or you can use this link here.
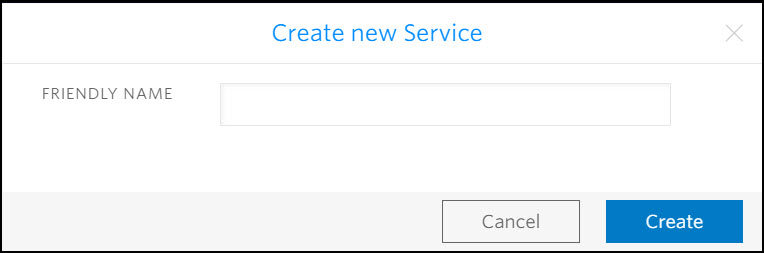
- Click + (add) to add a new Service. Add a Friendly Name and click Create.

- A Service ID is generated. This needs to be used when configuring your connector. Specify the code length. From here you can set the validations for phone number validation, transaction verification, email validation, and so on as required. Click Save
Using the Twilio Connector
Using SMS to send Verification Code
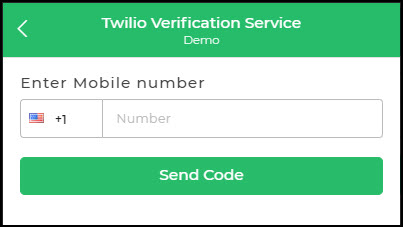
Let us first understand how the Verify Service works using SMS to send verification code. Let us consider the two-step verification for a user of an app. After the user authenticates the first step with the username and password, the user is prompted to add a mobile number to send the verification code. So let us have a form that accepts the phone number to send the code to. Add an Action button as Send Code.
Now you need to Configure the Twilio Connector to use the Verification service from Twilio.
- Under Action Flow > Server Side Actions, select Twilio connector and click Continue.
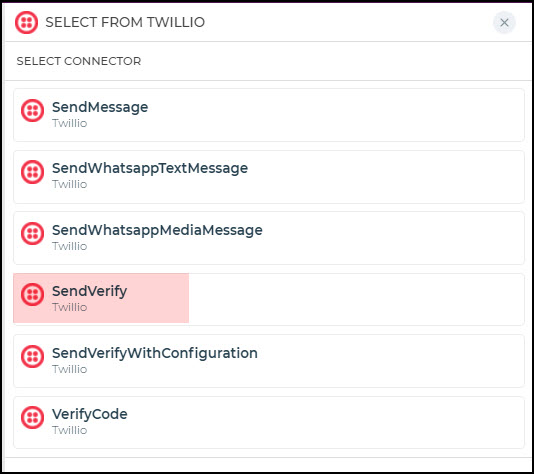
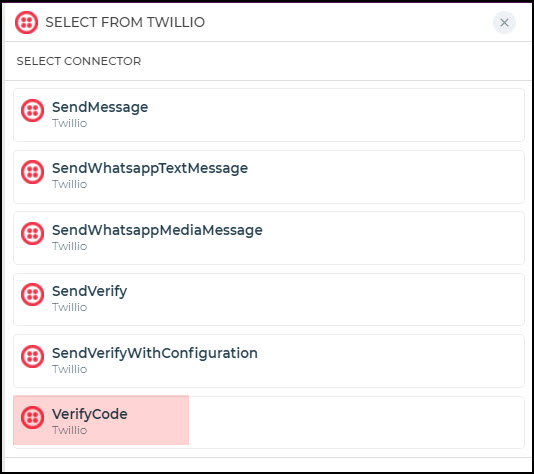
- From the Twilio Actions listed out, select SendVerify and click Continue.

- Now select the Authenticated account which you might have already configured. If you have not configured your account you can have a look at the method here.

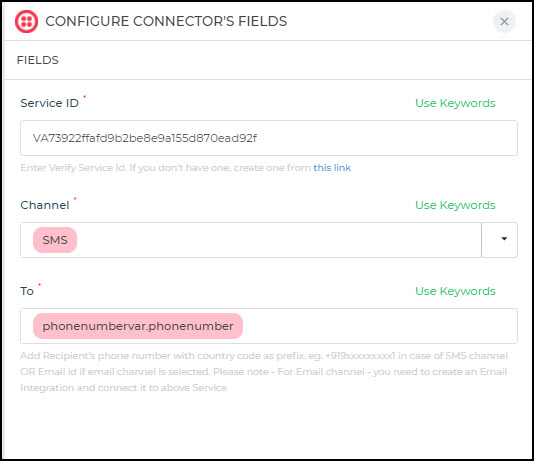
- Now the important part is to configure the Connector fields. From your Twilio Verify Service, you need to copy the Service ID. You will find the Service ID under General Settings of the specific Service that you created earlier or on the Services List. Copy the Service ID and paste it in the respective connector field.

- Select the Channel. You have the option to select SMS or EMAIL. So in this case select SMS and then add the recipients/user’s phone number with the correct country code. You can also make use of Keywords to add the control’s value that is entered by the user. In this example here we are using the Action flow. Hence to get the number with the country code, we will need to use a separate Compute Action where the CONCATENATE(control.countrycode, control.mobilenumber) function needs to be used. The reference of the value returned by this compute block would be used to add the Phone number to send the SMS. However, if you were adding it using a Workflow then you can directly use the CONCATENATE() function there to get the valid value.
- Add the Action Unique name and any response variables from the Output values returned as a result of the completion of the action.
Now, whenever this Action button is clicked it will send an SMS to the user’s phone number which can then be verified using the other task that Twilio Integration provides.
Verifying code
Now after the code is sent to the user’s phone number, the code needs to be verified for the user to be authenticated. Twilio connector provides the Action as VerifyCode. You can ask the user to enter the code received via SMS and then verify it.
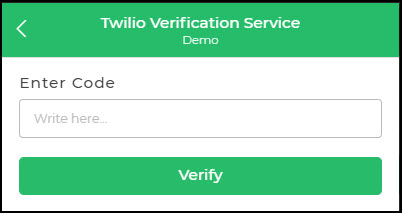
Now to verify the code you may have a Numeric Control where the user enters the code and sends it for verification.
- To Verify the code, use the Twilio Connector’s VerifyCode Action.
- Now select the Authenticated account which you might have already configured. If you have not configured your account you can have a look at the method here.
- Configure the Connector. Enter the Service ID, add the number of the user/ recipient to whom the verification code was sent, and then enter the code received.
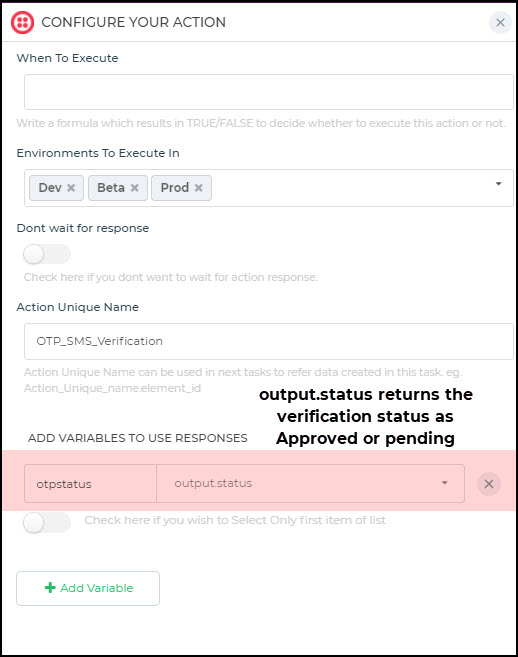
- Enter the Action Unique name and add variables as response variables in case you want to track some values and then you are done. We will use the output.status response which returns the status as approved or pending. So if the value is approved i.e. the verification code is valid, your verification is complete and you can move to the next actions.

- Now whenever the user receives the code by SMS, the user can enter it for verification. Once the valid code is entered, the Twilio connector verifies it and returns the respective value or status which can be used as required.

Verify Service – Email Integration
You have seen how the Verification service from Twilio allows you to have a code verification process using SMS. Similarly, you can also make use of Email Verification for user authentication. Twilio provides the Email Integration that allows you to send the OTP via email. This integration is done using Twilio SendGrid.
Now let us understand how to create this Verification service in Twilio.
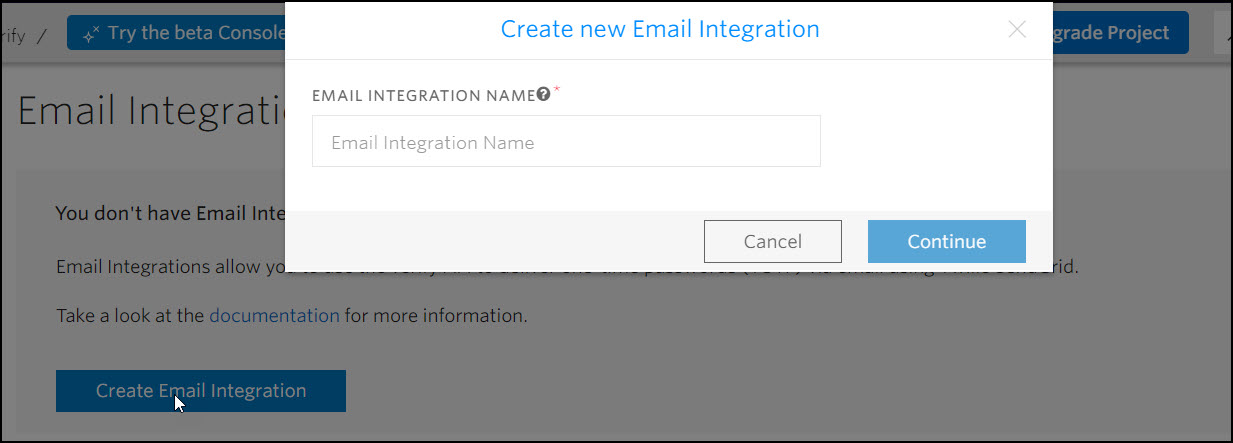
- In your Twilio Account, under Verify Service, select Email Integration.
- Click Create Email Integration. Add a name for the Service and click Continue.

- Here you would be able to see the properties that need to be set for creating the Email Integration.

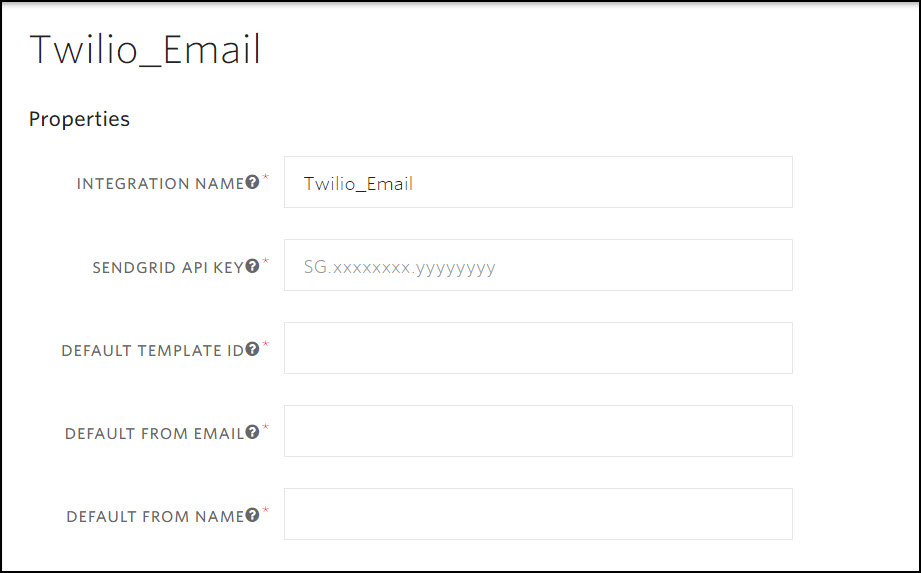
- Integration Name: This is the name that you have assigned when creating the new service.
- SendGrid API Key: This is the API Key for your SendGrid Account. Login to your SendGrid Account and go to API Key and click Create API Key if you have not saved your SendGrid API Key in a safe place on your system.
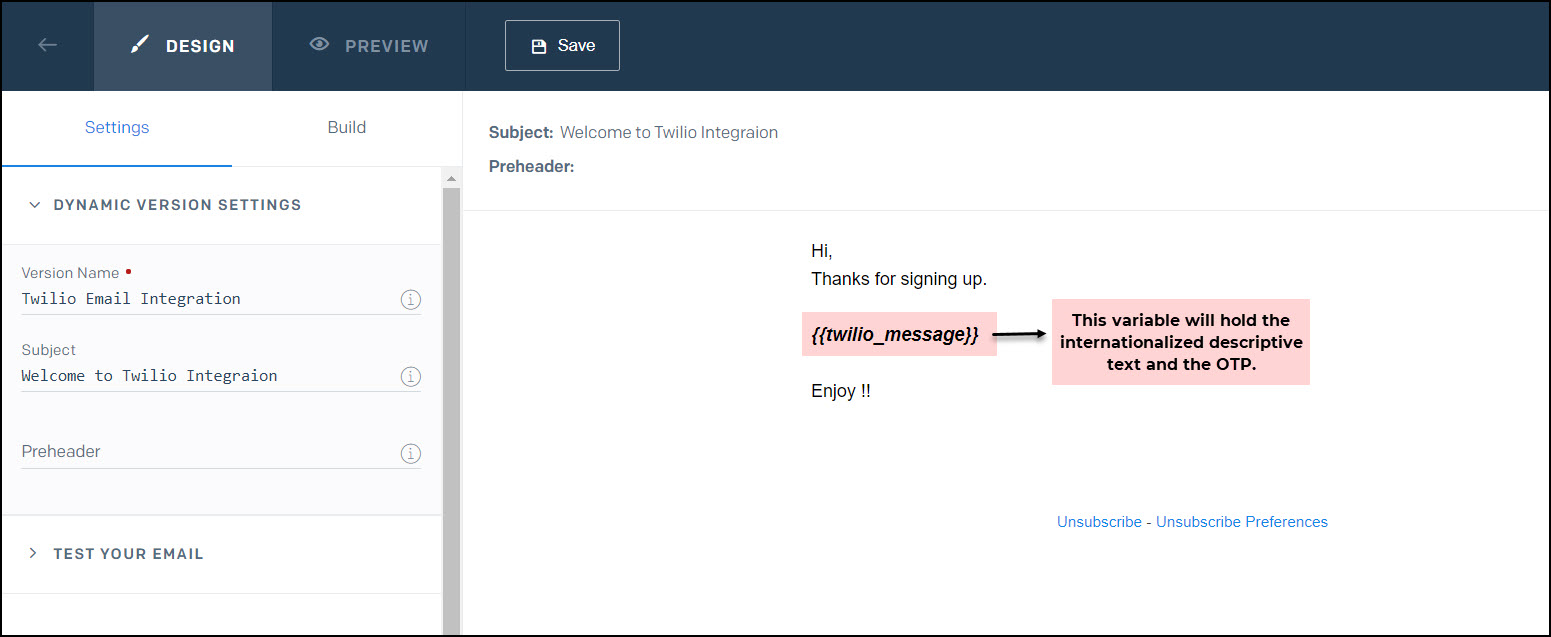
- Default Template ID: You need to provide the Template ID of your Default SendGrid template. Goto the SendGrid Dashboard and create a new Template. The template that you use needs to have the following variables so that the Verify Code can be included in the email template. You need to use at least one of the Variables from this list.
Variable Description {{twilio_code}} This variable will hold the One Time Passcode. It would hold a numeric 4-10 digit code. {{twilio_message}} This variable will hold the internationalized descriptive text and the OTP. {{twilio_message_without_code}} This variable will hold only the internationalized descriptive text. {{twilio_service_name}} This is an optional variable that would include the Friendly name of the service. - Default From Email: This is the default email address to be used to send the email.
- Default From Name: Is the Default Name from where / whom the email would be sent.
4. Select the Verify Service from the list to use. This would be the Twilio Service that would be used for the Email Verification process.
5. Once all details are added correctly, click to Save the configuration.
There are two types of scenarios that you need to be aware of. When you are creating a template in SendGrid for email verification you can design the template and use it as it is without any addition other than one of the variables for the code.
However, at times you might also want to add dynamic values like the user name or user id. These are to be substituted in the template during runtime. So in this case you would use the above Action SendVerify to send code via email. But when there is a substitution you would have to use SendVerifyWithConfiguration that facilitates substitution of the dynamic values.
Sending Code Via Email
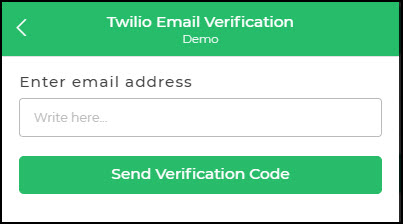
Let us first see how to use the SendVerify Action for Email and then understand the Substitution. Let us consider that we land on the verification page to enter an email address to send the verification code to.
- Under Action Flow > Server Side Actions, select Twilio connector and click Continue.
- From the Twilio Actions listed out, select SendVerify and click Continue.
- Now select the Authenticated account which you might have already configured. If you have not configured your account you can have a look at the method here.
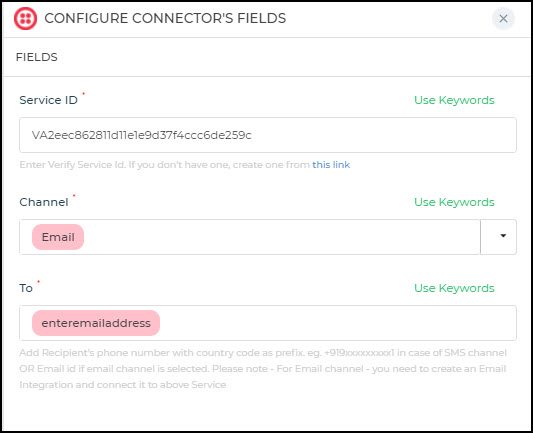
- Now the important part is to configure the Connector fields. From your Twilio Verify Service, need to copy the Service ID. You will find the Service ID under General Settings of the specific Service that you created earlier or on the Services List. Copy the Service ID and paste it in the respective connector field.

- Select the Channel. You have the option to select SMS or EMAIL. So in this case select EMAIL and then add the recipient’s / user’s email address. You can also make use of Keywords to add the control’s value that is entered by the user.
- Add the Action Unique name and any response variables from the Output values returned as a result of the completion of an action.
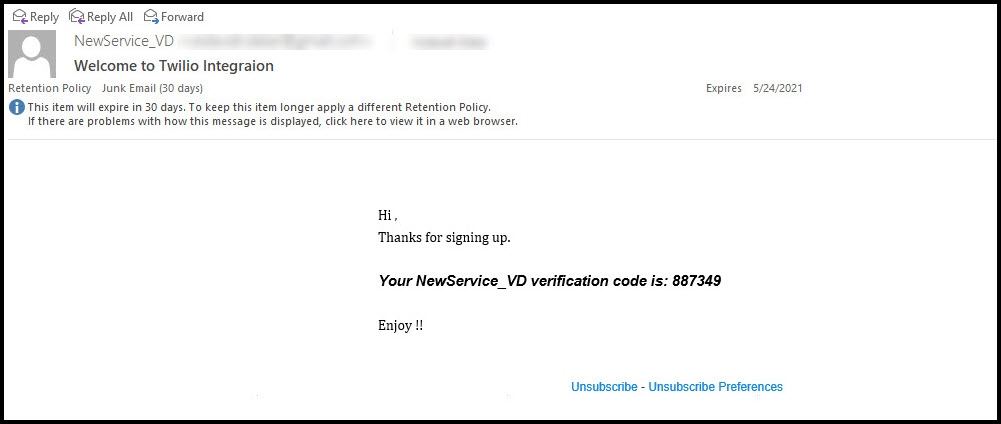
Now, whenever you run this form a code would be sent to the email. A method needs to be provided to verify the code. For this, you would use the Action Verify Code in your Twilio Connector as seen here.
Sending code via Email with Substitution
Whenever you want to provide the users with the capability to provide dynamic input that goes into the email template when the user receives the verification code on email, it requires substituting variable values in the template then you can use the SendVerifyWithConfiguration Action of the Twilio Connector.
Let us consider a simple example to understand how to use the email verification process.
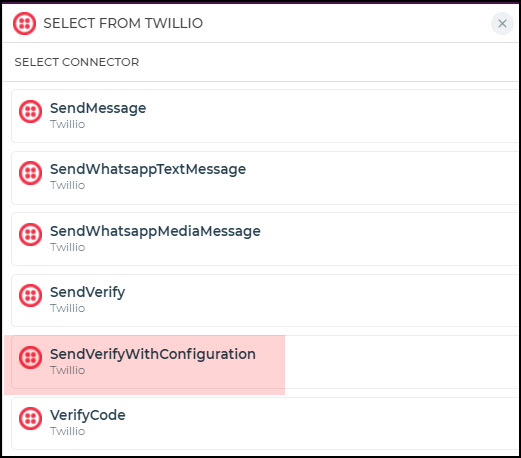
- From the Twilio Actions listed out, select SendVerifyWithConfiguration and click Continue.

- Now select the Authenticated account which you might have already configured. If you have not configured your account you can have a look at the method here.
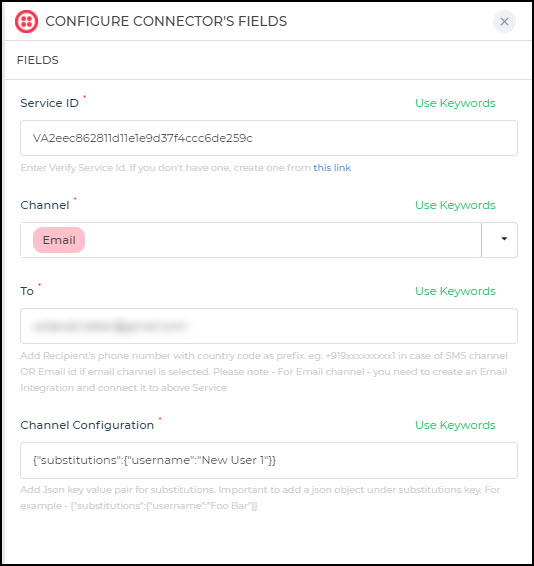
- Now the important part is to configure the Connector fields. From your Verify Service copy the Service ID. You will find the Service ID under General Settings of the specific Service that you created earlier or on the Services List. Copy the Service ID and paste it in the respective connector field.
- Under Channel, select Email.
- Enter the email ID to send the verification email to. You can also use the Keywords to add dynamic values.
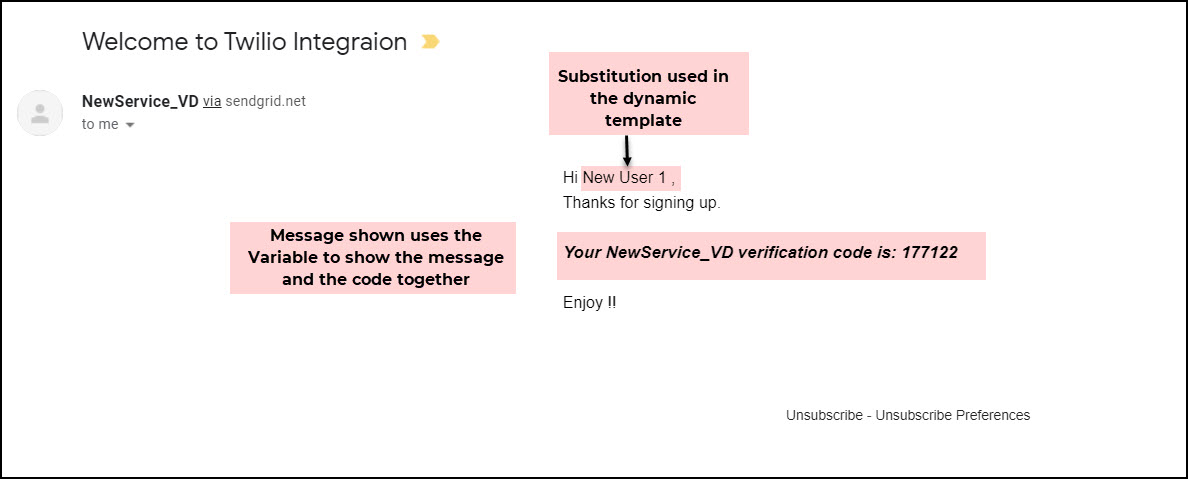
- Add Channel Configuration. Here you would enter the JSON Key-Value pair for substitution. The Substitution in this example is hardcoded and then added in the Dynamic Template from SendGrid. However, you can use dynamic values like say the Logged in user’s Username for substitution. In case you want to add the dynamic parameters for substitution, you would have to add a custom function that enables you to add the values in the necessary format.

- Add the Action unique name and click Finish. Your email verification configuration is done.
So now whenever the user clicks the Send Verification Code button the action flow triggers the connector action to send code via email for verification with the hardcode value for substitution.
Verifying code
Now after the verification code is sent to the email, the code needs to be verified for the user to be authenticated. Twilio provides the Action to Verify Code.
Now to verify the code you may have for example a Numeric control where the user enters the code and sends it for verification.
- To Verify the code, use the Twilio Integration VerifyCode Action.
- Now select the Authenticated account which you might have already configured. If you have not configured your account you can have a look at the method here.
- Configure the Connector. Enter the Service ID, add the email address of the user/ recipient to whom the verification code was sent, and then enter the code received using the Text control from the Keywords.
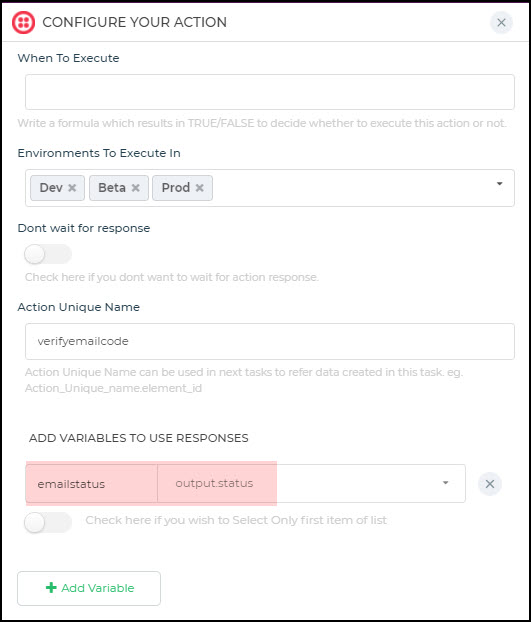
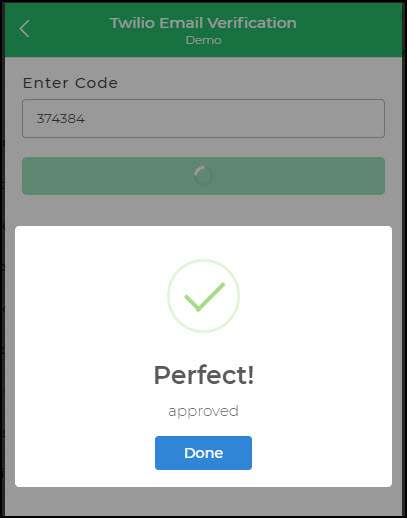
- Enter the Action Unique name and add variables as response variables in case you want to track some values and then you are done. We will use the output.status response variable which returns the status as approved or pending. So if the value is approved i.e. the verification code is valid, you can move on further as the verification is done.

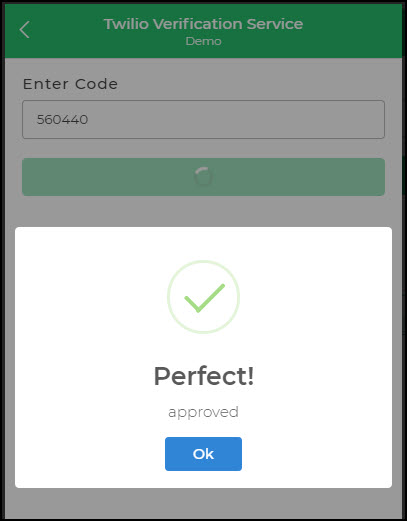
Once the valid code is entered, the Twilio connector verifies it and returns the respective value or status which can be used as required. In this case, we have used a Popup task to show the value of the output.status response code.
Configuring Twilio Account
Now when you are adding a new account you need to use your Twilio account authentication method. Twilio has a simple token-based authentication. You can find all your account details in the Twilio account Dashboard. When configuring the Twilio connector following are the details that you would need.
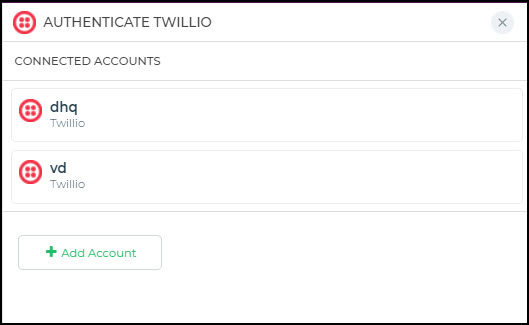
- To configure the account, under Authenticate Twilio, click +Add Account. Enter the Tag name, the Account SID and Auth Token as per your account settings.

- Add a Tag for your account name. This will be the name that would be shown in the list of accounts.
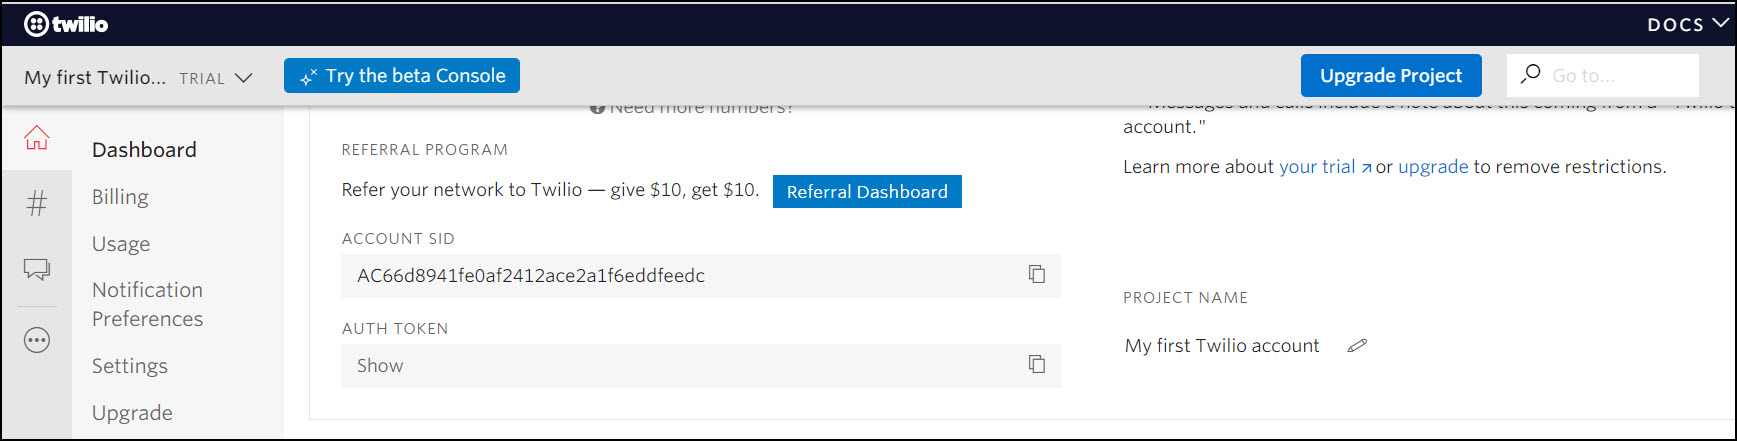
- Get API Keys: You can find the Account SID and Auth Token under the Twilio account dashboard > Developers > API Keys.

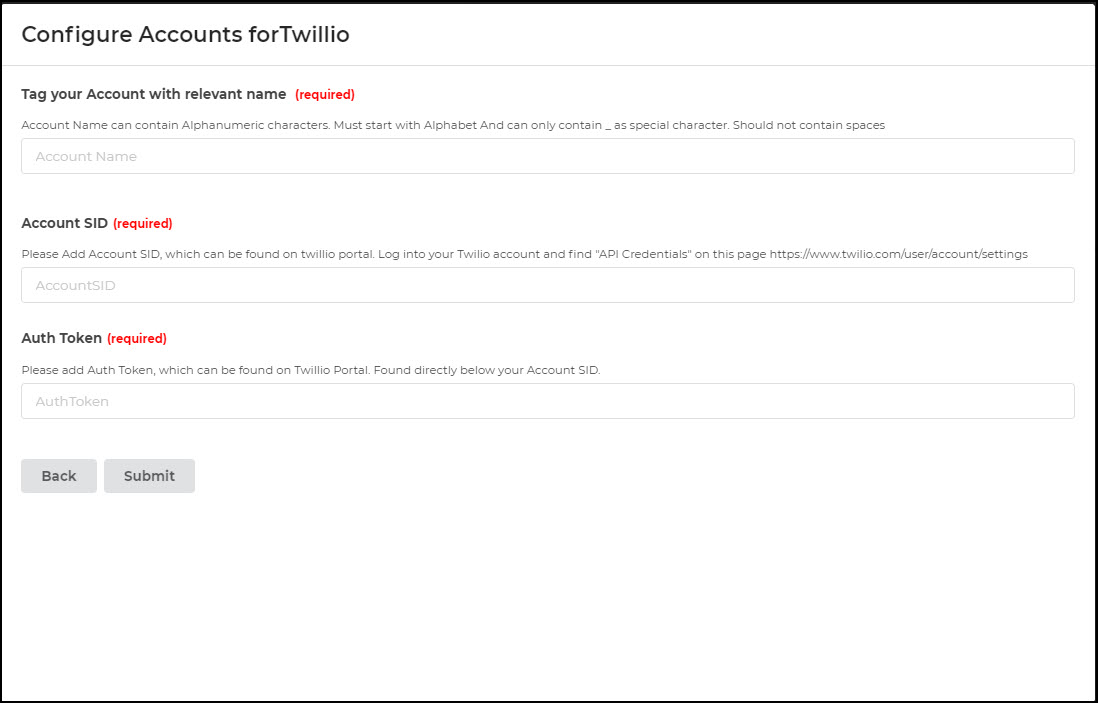
Once all the above details are added click Submit and you are done.
Related Articles