4 Simple Steps to Build Dynamic Web Forms
Web forms are the gateway to user input, from signups and feedback to approvals and product configurations. But dynamic forms do more than just collect data. They respond to users in real time, adjust based on logic, and integrate with databases or APIs to guide decisions.
If you are building internal tools, admin panels, or customer-facing applications, static forms won’t suffice. You need dynamic forms; forms that change based on the user’s role, choices, or the data coming from your backend.
In this guide, we will walk through 4 practical steps to building dynamic web forms.
What are Dynamic Forms?
Dynamic forms are forms that change in real-time as people fill them out. They guide the user through the steps required to complete a form. Dynamic form designers can create forms that are data-driven and responsive to user inputs.
Validation rules in most dynamic form builders let you verify the data and control the quality of information captured. Configure rules for form fields and verify information like mobile numbers and addresses.
Dynamic forms will allow you to tailor digital forms that are faster to complete and more intuitive.
Read about the 5 benefits of the dynamic form builder here.
4 simple steps to build dynamic forms in DronaHQ
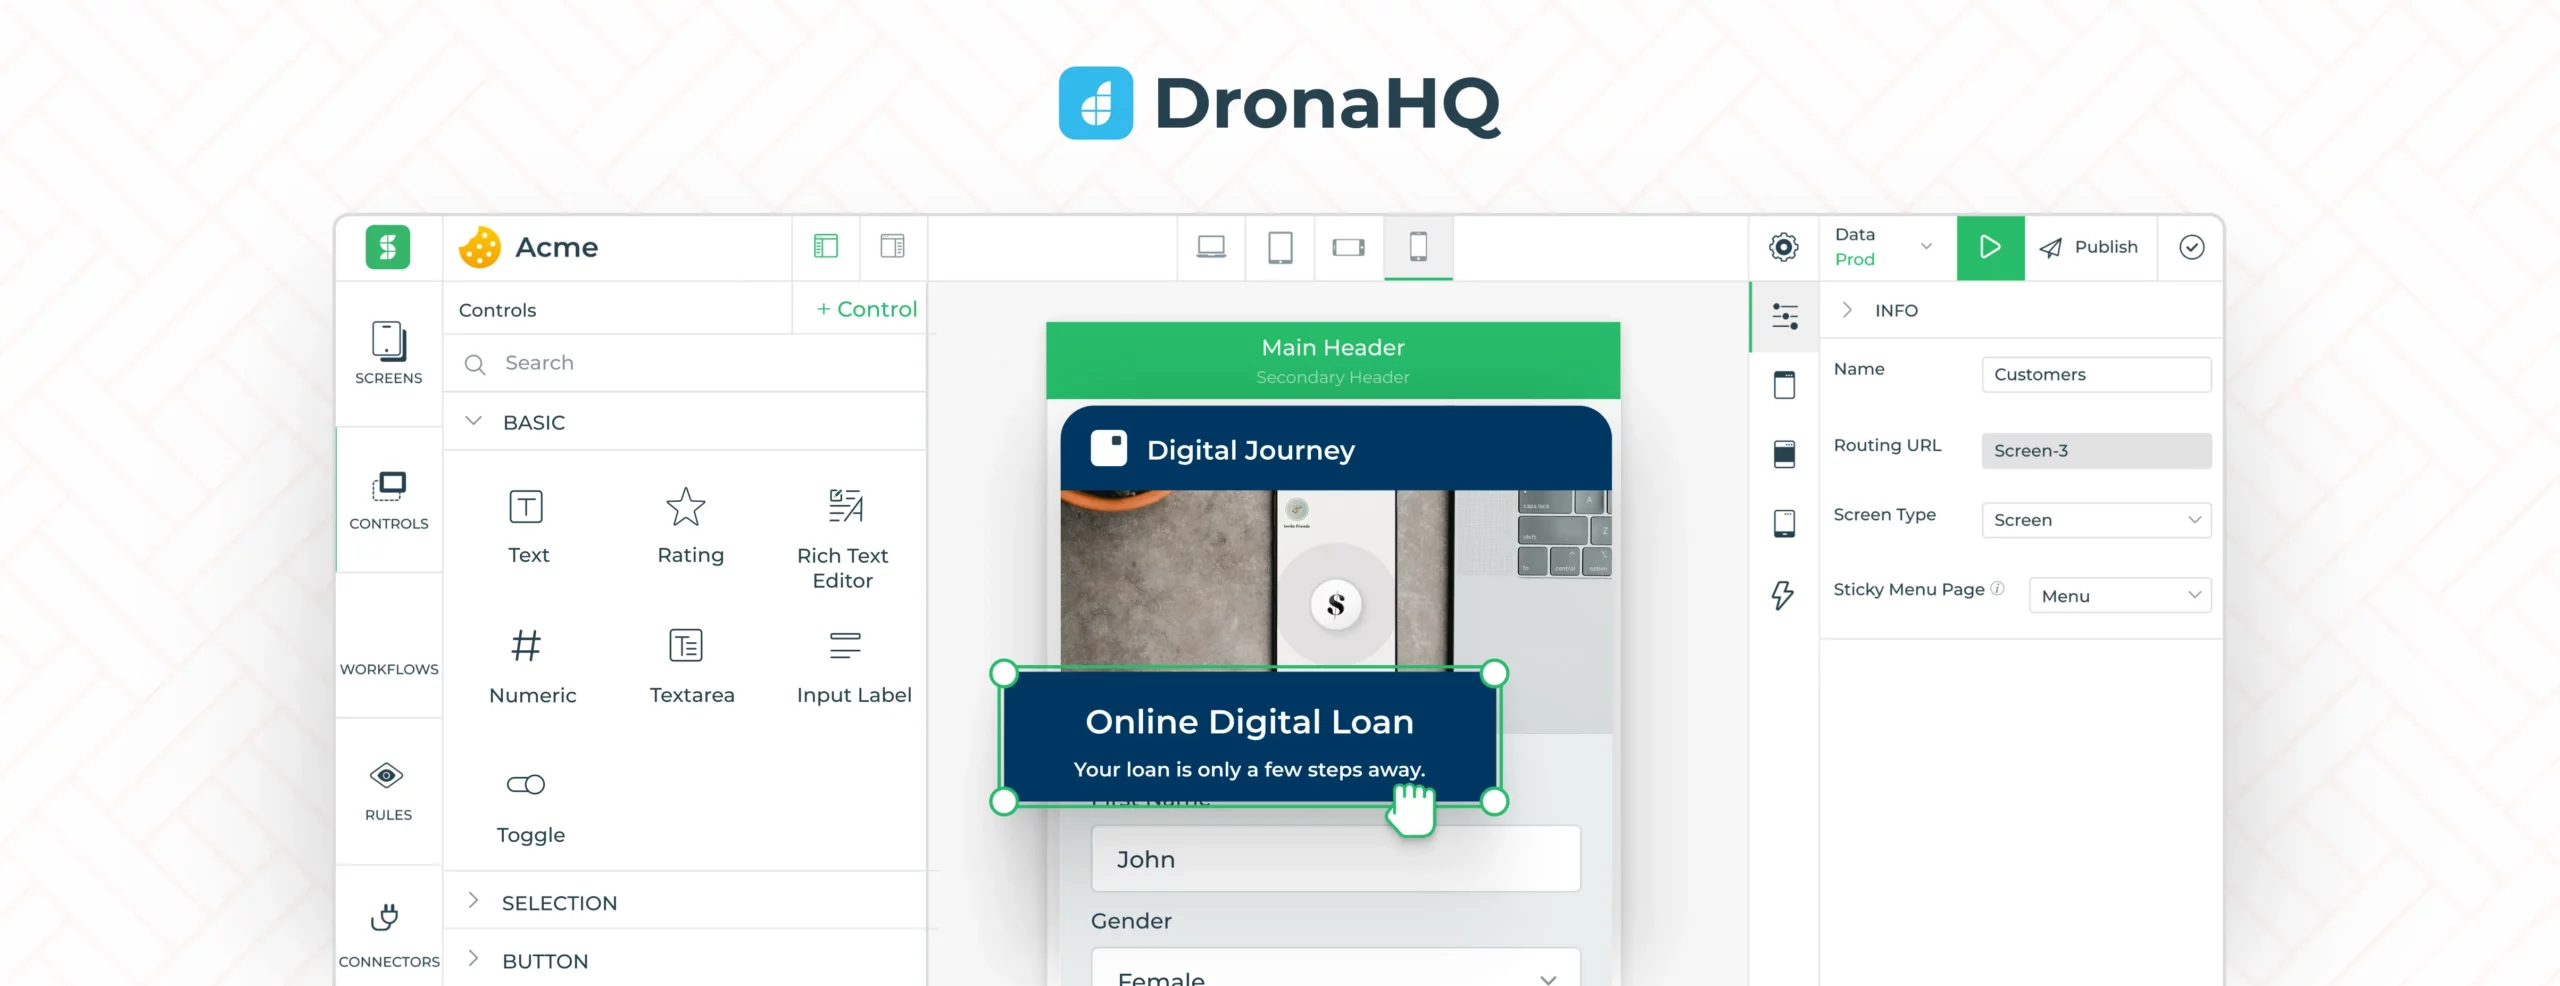
Step 1: Build the form
Once your app is set up in DronaHQ, the first step is to create a form. There are three ways to do this:
- Drag and drop method: Use the controls panel on the left to drag input elements, such as text boxes, dropdowns, and date pickers, onto the screen and manually design your form.
- Use pre-built templates: Choose from a library of pre-built form templates and custom components. This saves time and ensures consistency in layout and design.
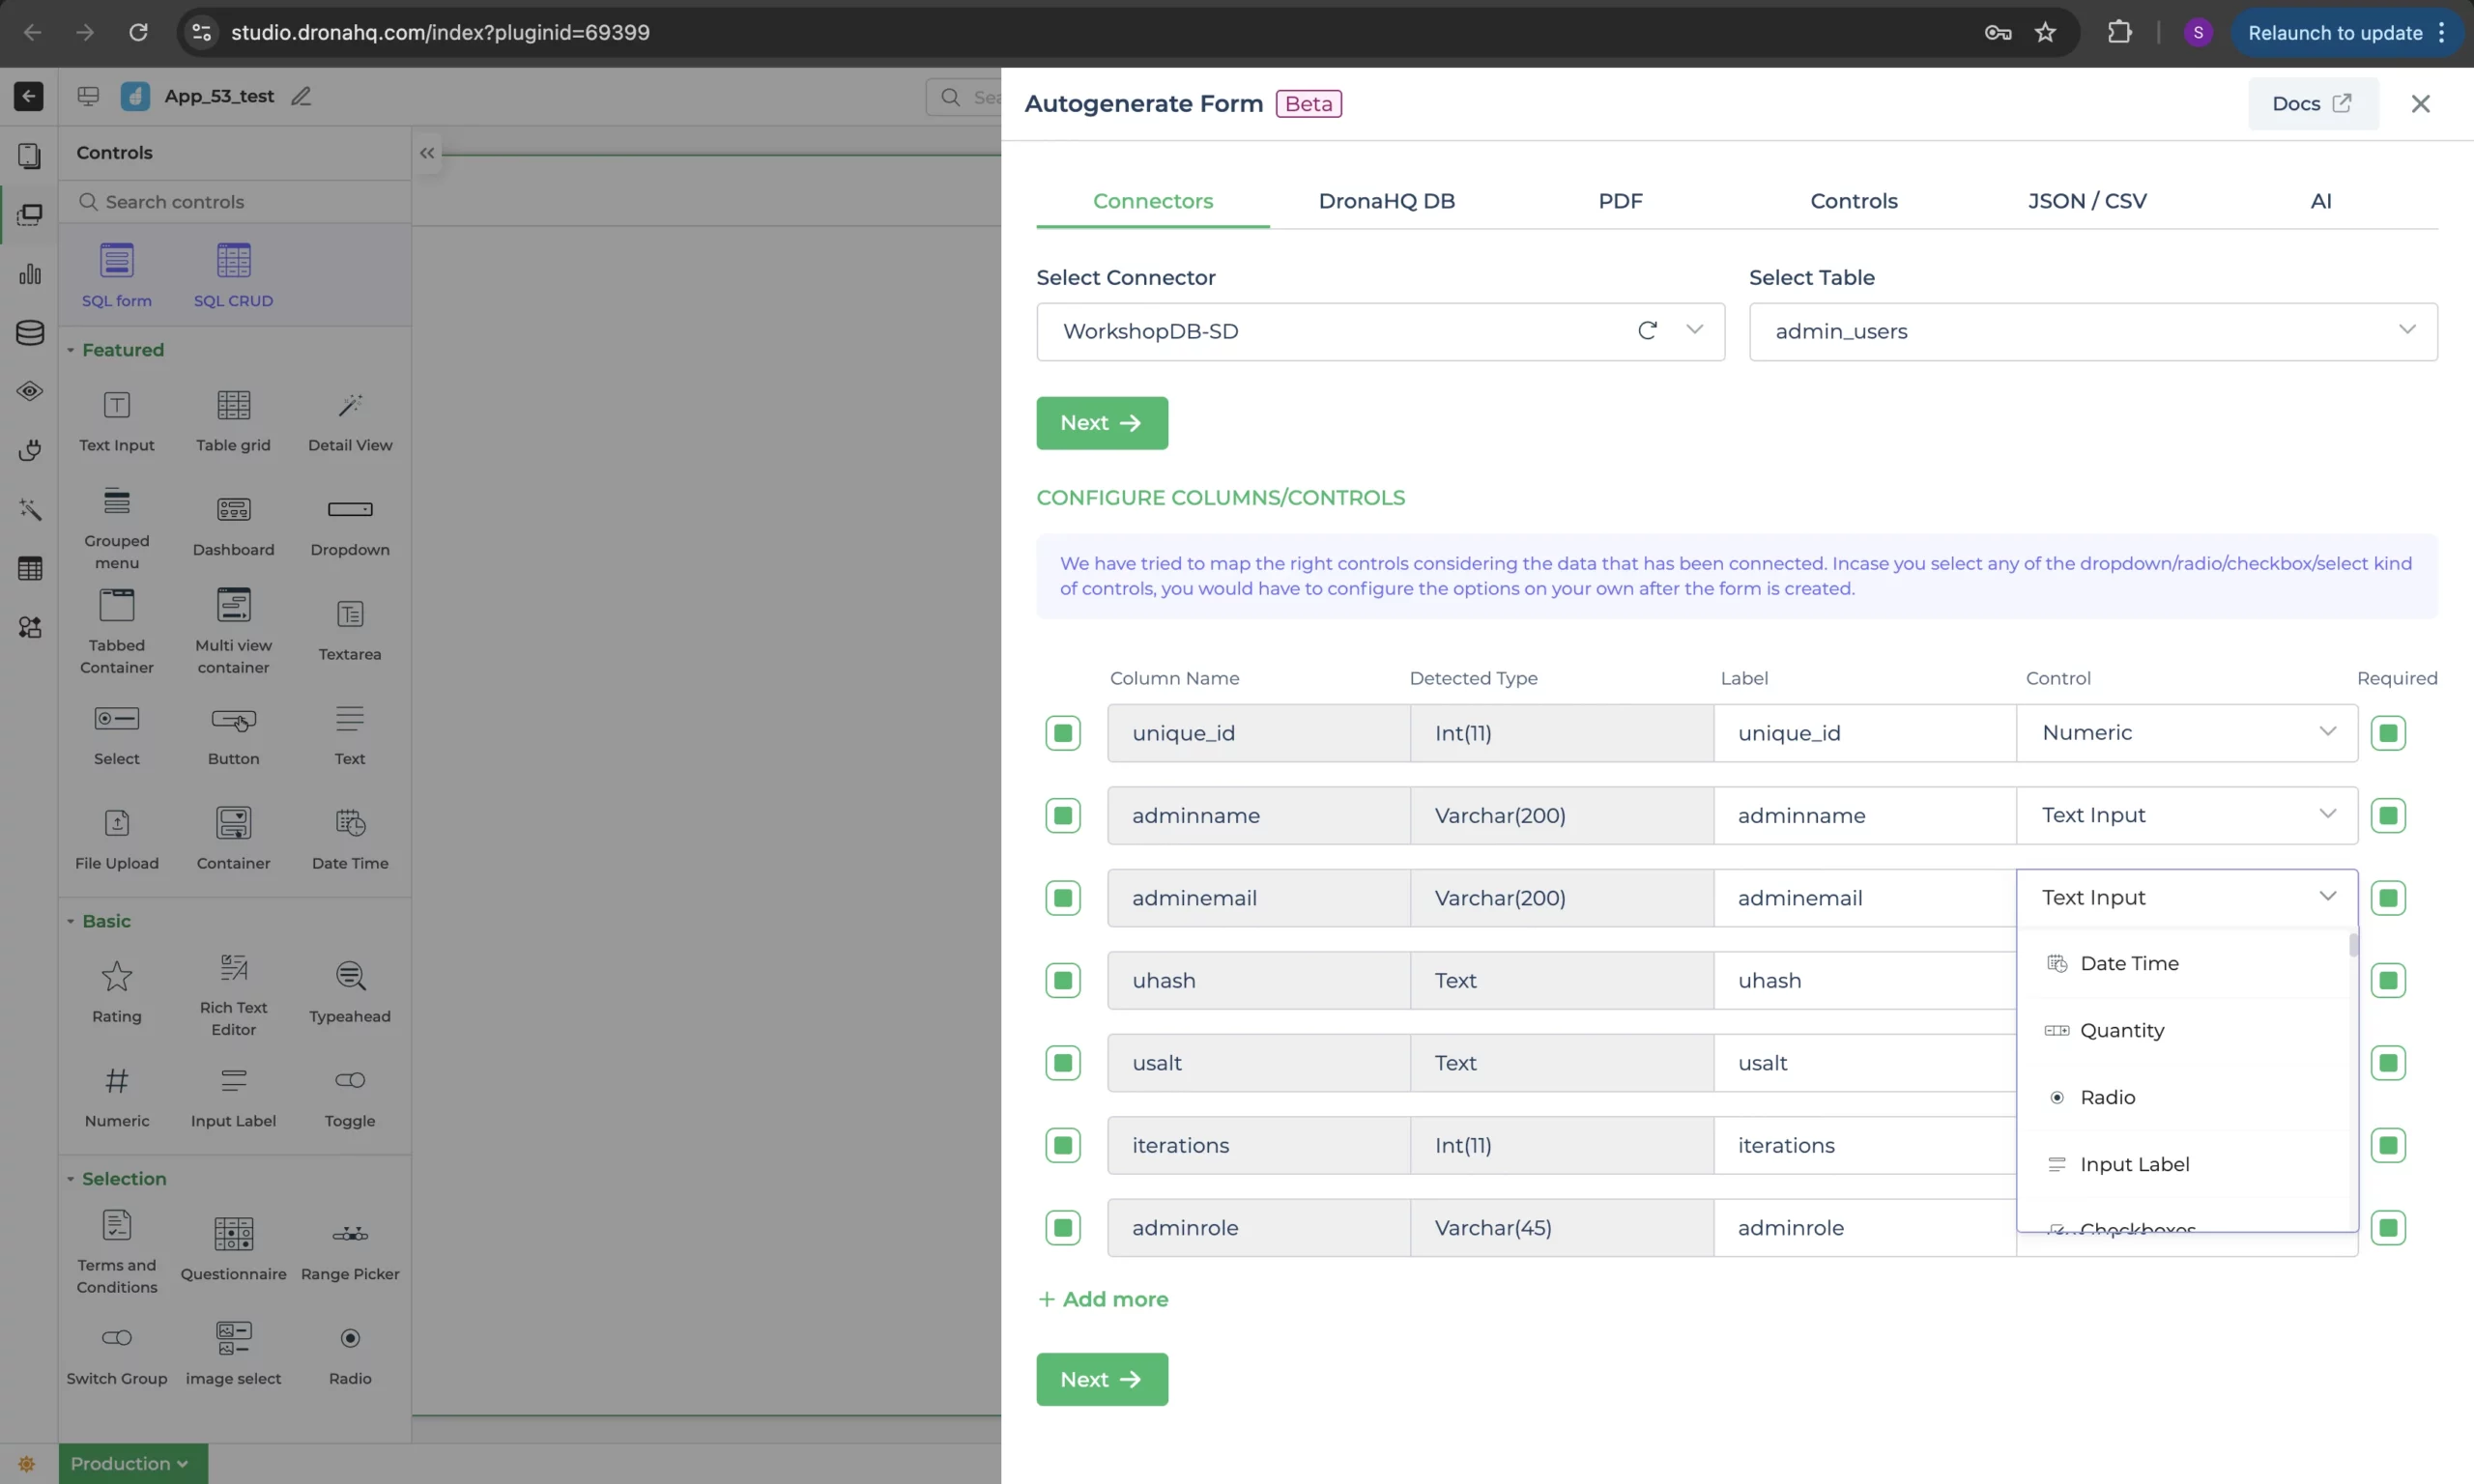
- Autogenerate Form: This is the quickest and most convenient way. Simply connect to your database table or API, and Builder will automatically generate the form structure based on the schema.
Bonus: Veda AI, DronaHQ’s AI assistant to build internal tools in minutes. Upload a form design reference or type a prompt, and AI builds the form UI and logic.
Step 2: Add rules and validations
Once the form is ready, it’s time to add input rules and validations to ensure data quality.
- On the left panel of the Screen, locate the “Rules” section.
- Here, you can define constraints like required fields, regex validations, field comparisons, conditional logic, and more based on your requirements.
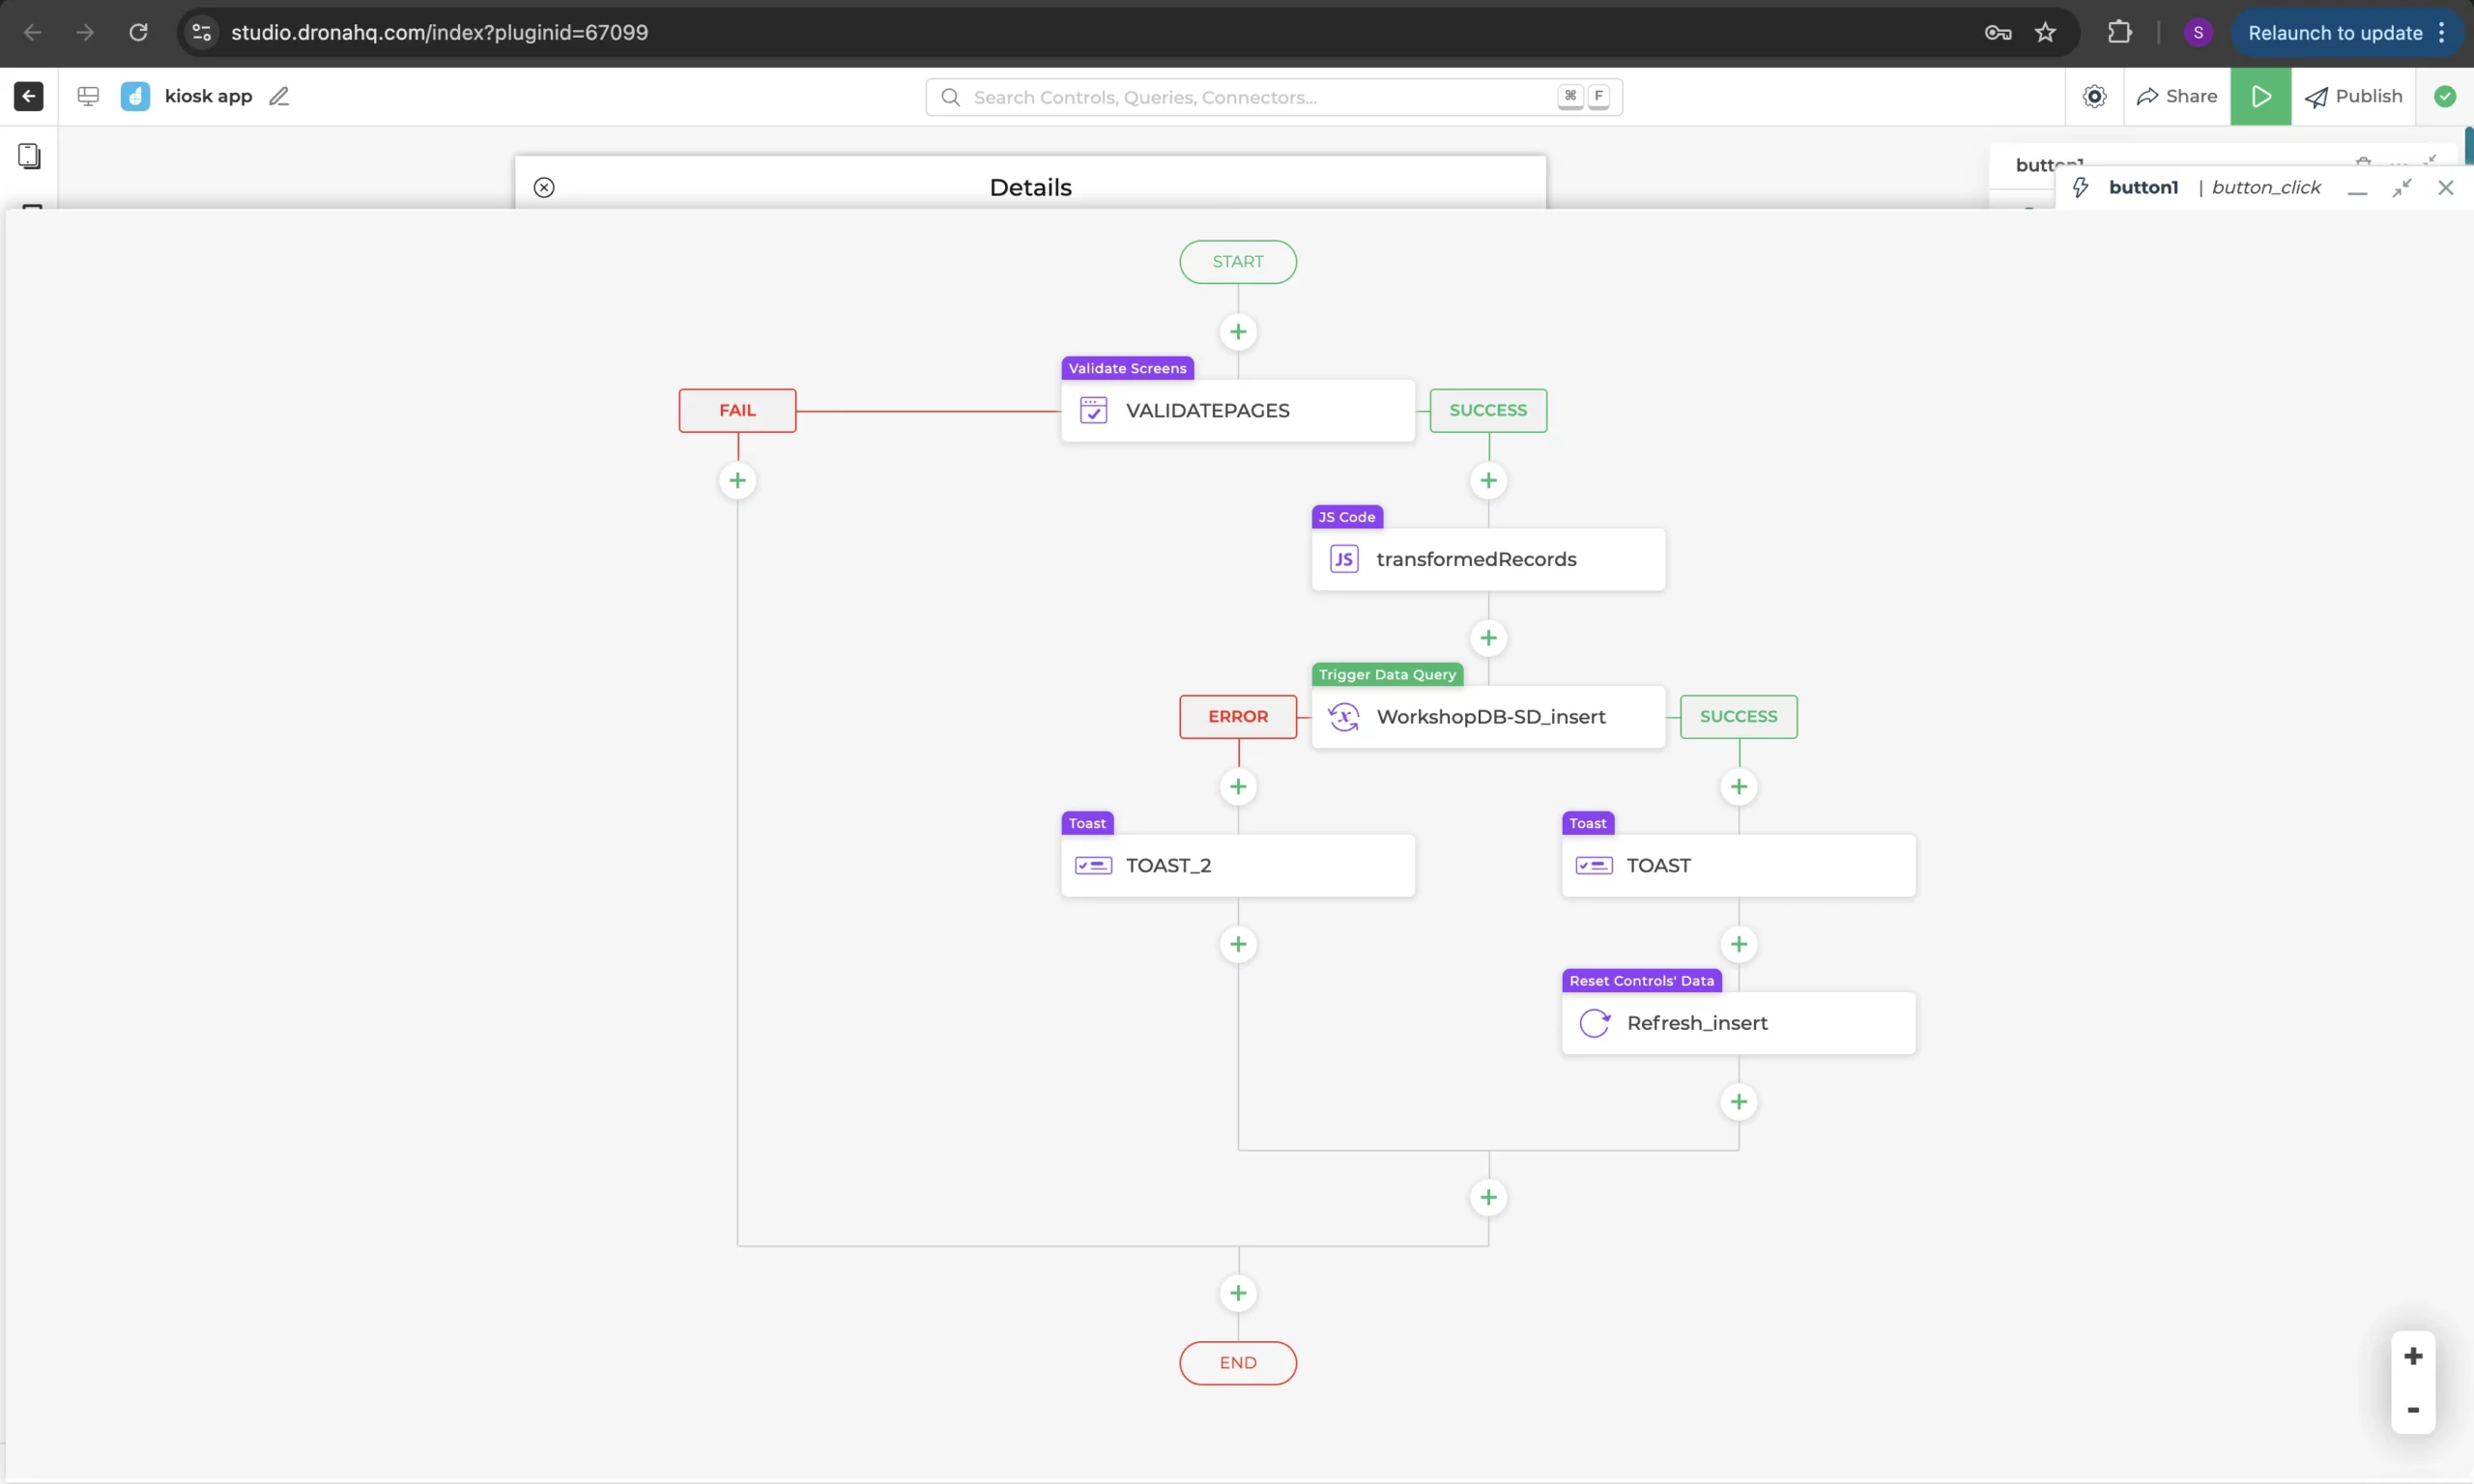
Step 3: Configure workflows
This is the most important step: adding logic and automation through workflows.
- Double-click the Submit button (or any action button).
- This opens the workflow editor, where you can define what should happen on click.
Common actions include:
- Validating the screen or form
- Inserting or updating records in your database
- Calling external APIs
- Sending emails or in-app alerts
- Generating and exporting PDF reports
Each action can be chained, conditional, and customised as per your logic.
Step 4: Preview, Test, and Publish
Once everything is set:
- Click the Preview button to test your form functionality.
- Make sure validation rules, workflows, and submissions behave as expected.
- When satisfied, click Publish to deploy your app version.
- You’ll receive a shareable link that can be distributed to your team or embedded wherever needed.
How do these web forms improve User Experience?
Dynamic forms assist the end-user by helping them navigate through the form. The user can get prompted with suggestions. The easier the form is for the user to complete, the more likely it is to receive good adoption rates. This gives your business the information your form was intended to capture.
In a dynamic form, the user no longer needs to
- follow complex steps or
- manually perform calculations or
- fetch information from the database.
The odds of the end-user abandoning your form or making an error on the form go down.
Using dynamic form capabilities, you can create seamless experiences for end-users. You can combine forms with other enterprise services such as SAP, Salesforce, or Oracle. You can even automate custom report generation and send the same over email.
Check out DronaHQ’s Form Building Capabilities for yourself. With process automation becoming a priority in business, the productivity and efficiency dynamic forms provide are significant. See how you can create forms that react to user actions (signing the form, answering a question, skipping a required field), hide and show questions, pages, or form sections, and so on.
Related Articles